Contents
View model settings for Counter-Strike: Global Offensive can make a really big difference while you are playing, so adjusting them can enhance your gaming experience immensely. If you haven’t changed the view model setting yet, then you should give it a try, and see what a difference it makes in gameplay.
The view model for CS:GO is basically what you see of the gun in front of you during gameplay. In simplest terms, the bigger the gun view is, the tougher it is to see the enemies in front of you. So, it’s in your best interest to adjust the view model so the gun is shown as small as possible. That way, you can clearly see the targets.
You can make this happen by lowering the gun and pulling it inward, which will achieve the effect of making the gun look smaller on the screen. But you can also adjust the settings to get a similar effect.
The Script
The following script is the best viewpoint to use for gameplay, this comes highly recommended, especially for avid users that want to get as far as they can in the game. This script can be copied and put into your configuration, or you can copy the commands directly into your console.
Best View Model For 1024X768 Resolution:
cl_righthand “1”
viewmodel_offset_x “0”
viewmodel_offset_y “-2”
viewmodel_offset_z “-2”
viewmodel_fov “54”
cl_bobamt_lat “0.1”
cl_bobamt_vert “0.1”
cl_bobcycle “0.1”
cl_viewmodel_shift_left_amt “0.5”
cl_viewmodel_shift_right_amt “0.5”
This ensures that you have the best view model when gaming, and are able to see your enemies the best you possibly can. You can also switch a few of these up a little bit to customize it for the best gaming experience.
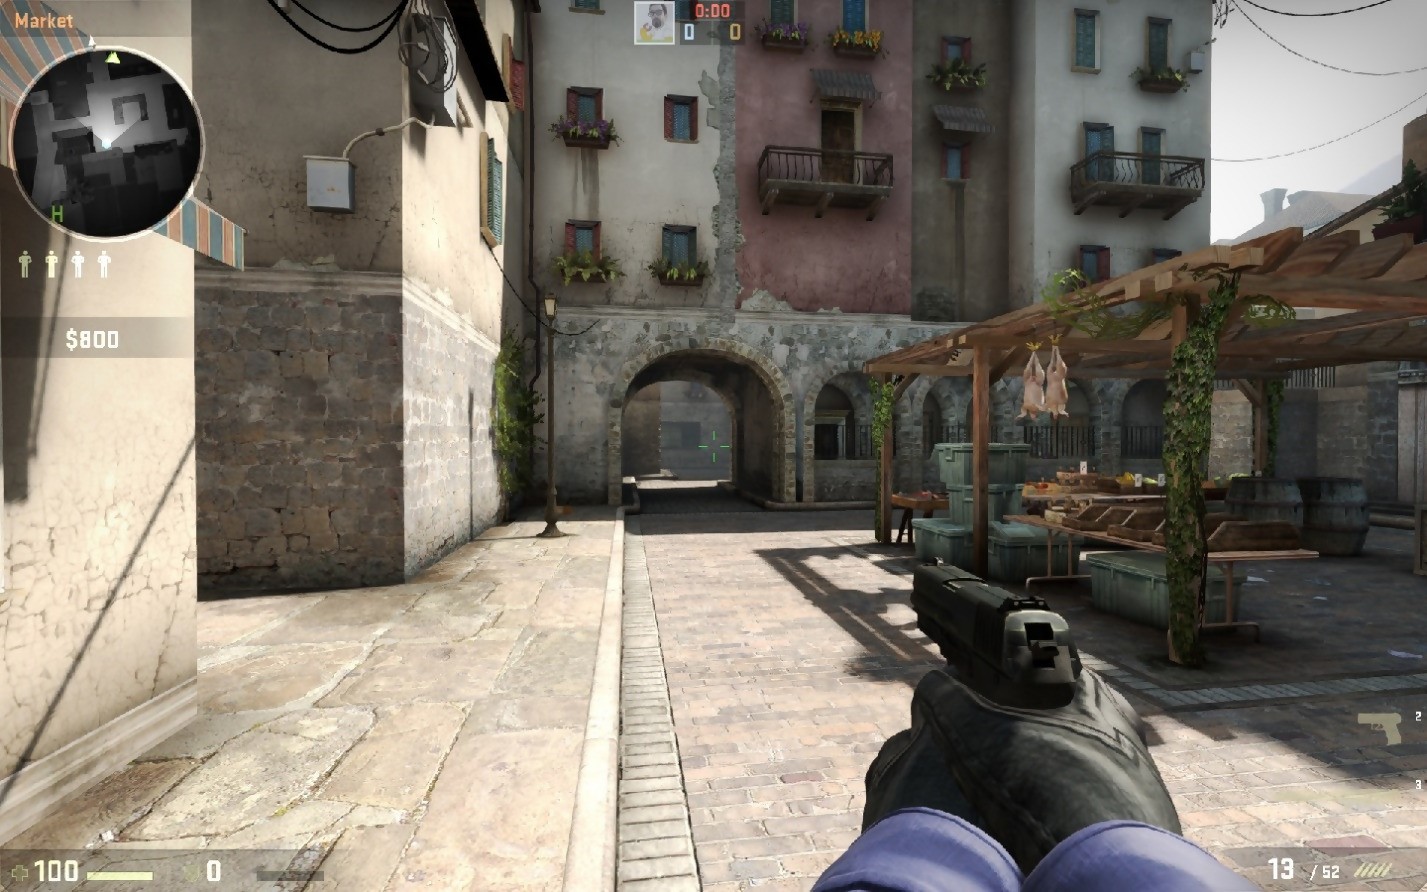
The look of the gun on the screen will be like the photo above, with the gun towards the center and a clear view of what is in front of you. This is a great way to play because you are able to see what is happening around you and be ready for anything.
If you want to customize the setting further, then you can use a few of these suggestions below to make your gameplay even more comfortable for you.
cl_righthand “1”-You can change the ‘1’ to a ‘0’ if you are left-handed, or if you like having the gun in that hand better.
viewmodel_offset_x “0”-If you would like the gun to be centered, then you change the ‘0’ to a ‘-2’ so that it will be in the center of the screen more.
How Do You Use These Configurations?
If you have never done this before, then you may be wondering how you put this script to use in the game. Well, there are a few things that you have to do to change these viewpoint settings.
In order to be able to use these settings for CS:GO you will need to make an ‘autoexec.cfg’ file in your CS:GO configuration folder.
This is usually found in- C:\Steam\steamapps\common\Counter-Strike Global Offensive\csgo\cfg
You can copy the setting that is from above and save them as the ‘autoexec.cfg.’ Then you will need to open up the file, and put this in the bottom line: exec autoexec
By doing this, you will have your settings load whenever you start CS:GO. Although, the script may reset whenever you restart your CS:GO, and this can be annoying to do every time you want to start gaming with your settings already there.
To do this, you can add this to your autoexec file:
viewmodel_presetpos “0”
host_writeconfig
By adding this, you will be able to use these settings as the default every time you play the game, so you don’t have to go through all the steps each time you want to play CS:GO.
Best View Model For 1920X1080
The view model that is best for the 4:3 resolution isn’t going to be the best for another resolution, so you’ll probably want a different model for the 1920X1080 resolution. So, keeping in mind all the steps that we already went over to put the script into the configuration, then just add this view model instead of the one mentioned before.
With each resolution, the ratio is different, so the look of the screen will vary depending on which one you use. The former was 4:3, this resolution is 16:9. This script is one that is made for optimum use on this resolution.
Here is the script for this view model:
viewmodel_fov “68”
viewmodel_offset_x “2.5”
viewmodel_offset_y “0”
viewmodel_offset_z “-1.5”
cl_viewmodel_shift_left_amt “0.500000”
cl_viewmodel_shift_right_amt “0.250000”
cl_bob_lower_amt “21”
cl_bobamt_lat “0.33”
cl_bobamt_vert “0.14”
This is what the screen will look like after you change the view model and the settings are put to use:
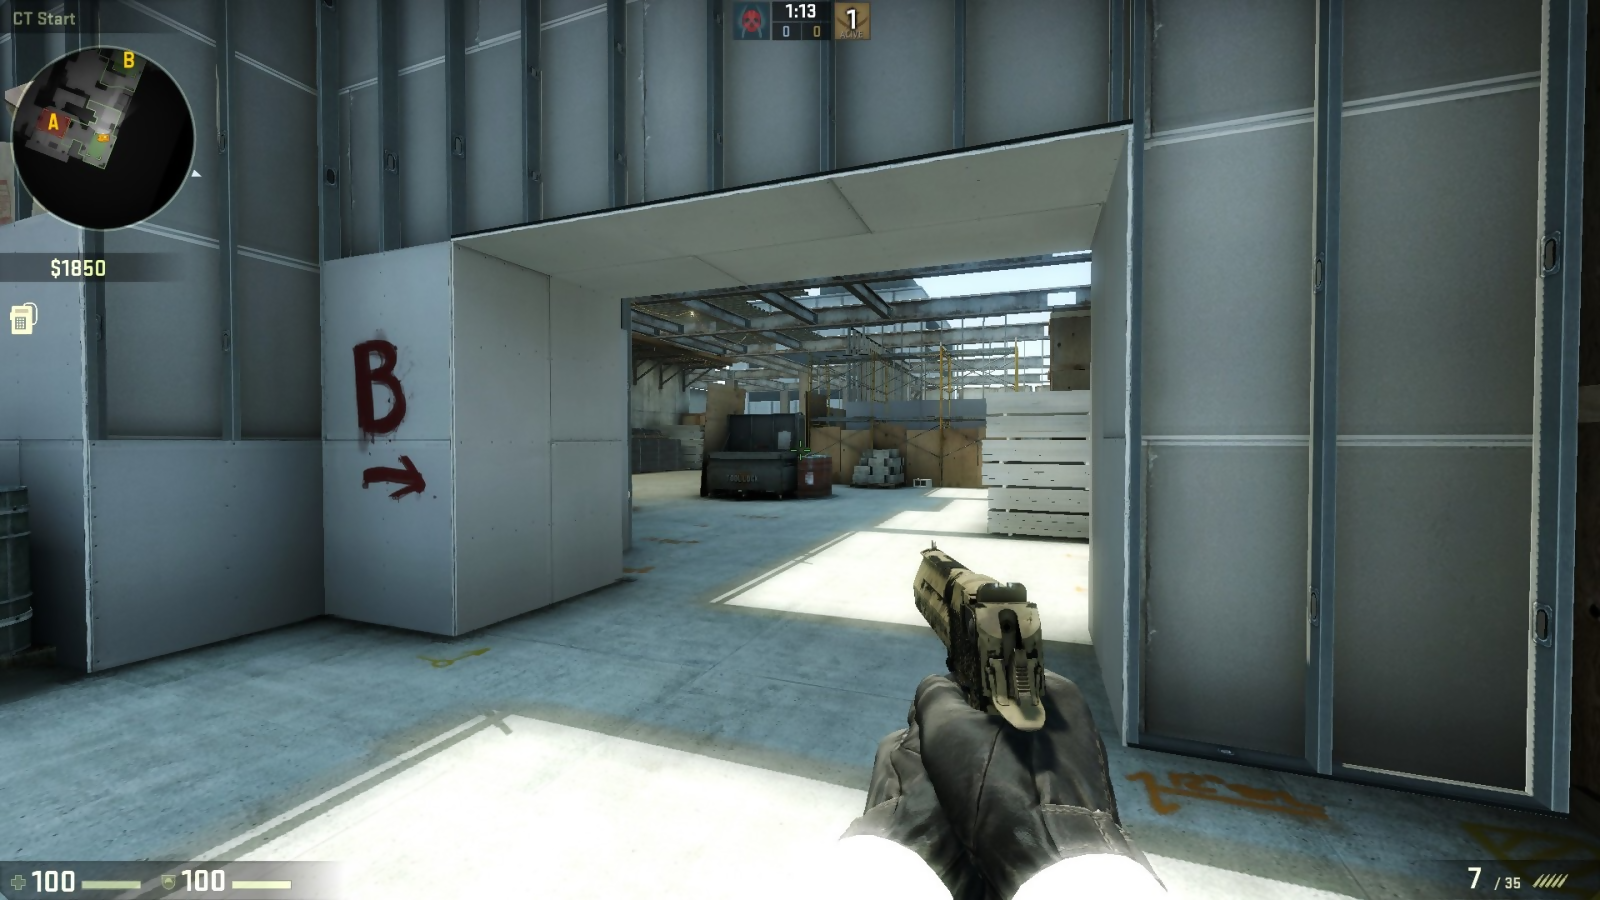
To use this script, do the same steps that we went through for the first script used with the other resolution, and you will be able to change the view model to these settings. Don’t forget to set the view model to the default so you don’t have to change it manually every time you start playing.
Each view model changes the way you see the game, and with each resolution, there is a view model that tends to work best. However, that doesn’t mean that it is one size fits all. Each player is different and plays best in different settings. So, trying them out and figuring out what you like the best is the only way to ensure that you get the greatest gameplay.
The great thing about this customization is that the choices are pretty much unlimited. You can learn to change the settings, and the script, to fit exactly how you want to play. If you want the gun to be slightly bigger on the screen than most players do, that doesn’t mean it won’t work well for the game.
You can switch up the settings until you find your favorite, and see what works the best when you are playing. This way, you can find the most comfortable way settings to play with, and be able to play the best you’re able. A little tweak here and there, and you’ll be a pro in no time.